

How to Wrap Furoshiki Cloth
The Basics of Wrapping With Furoshiki Fabric Reusable Cloth Gift Wrap

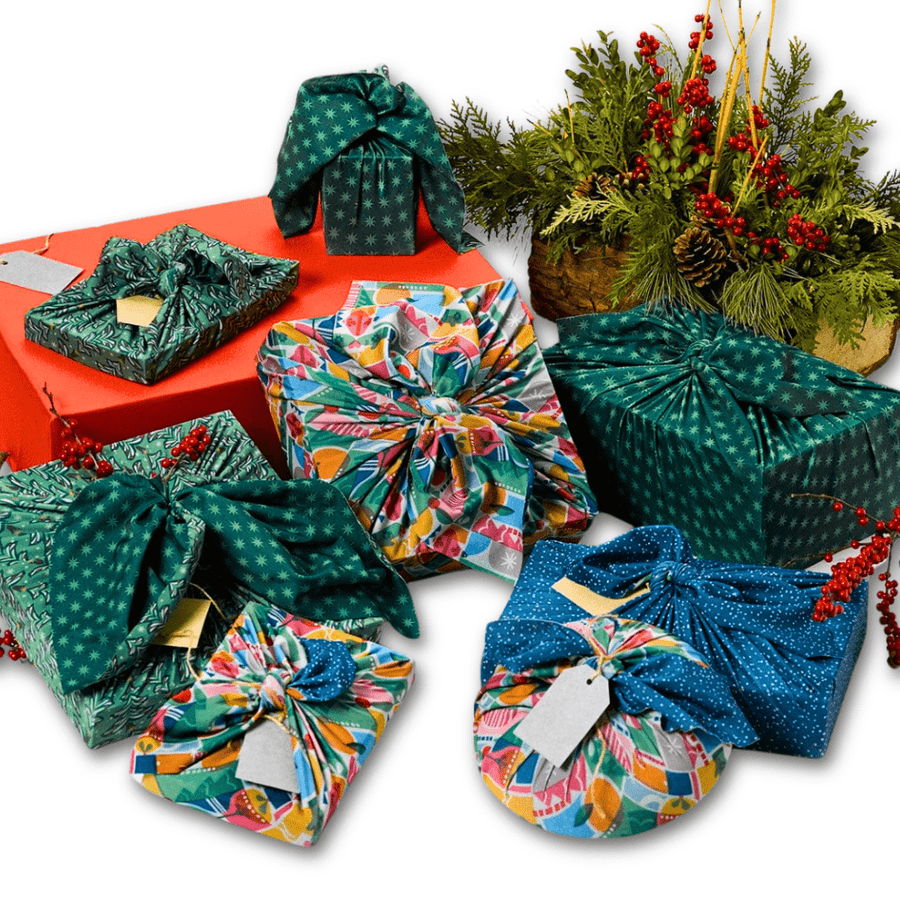
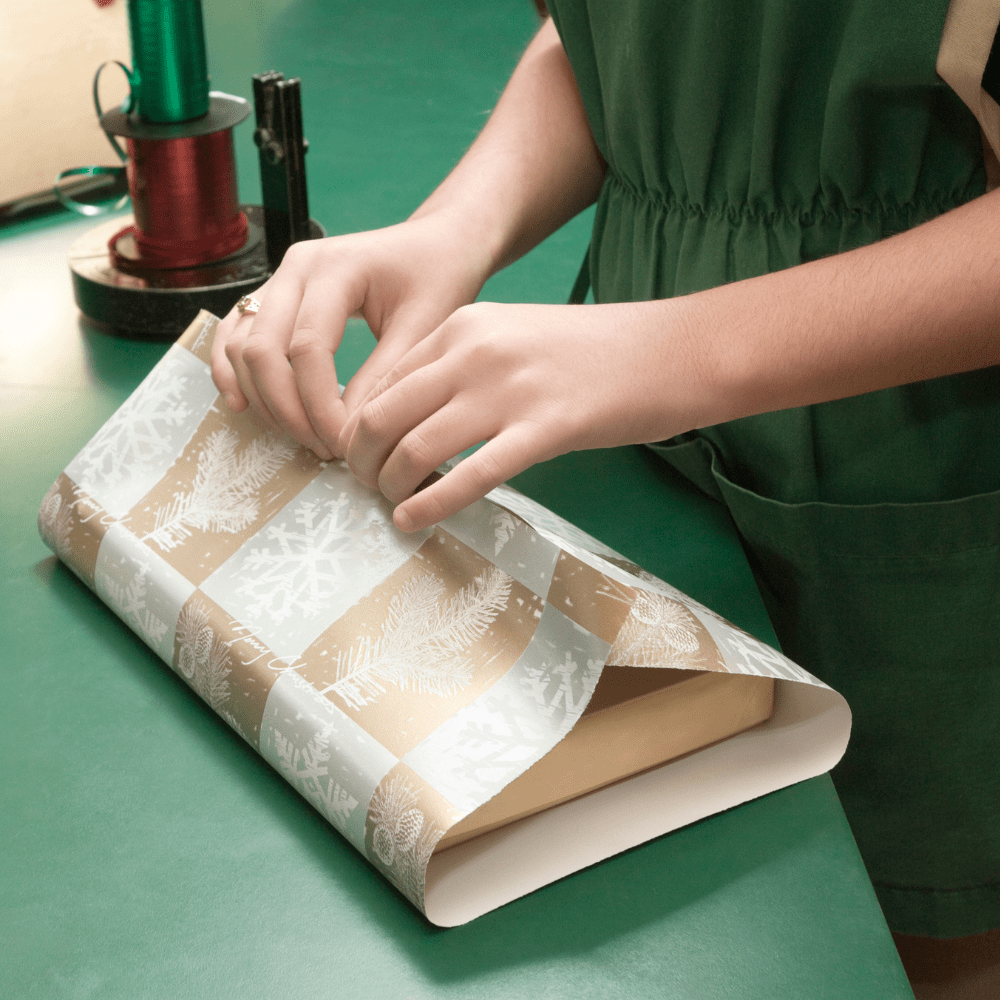
Present your gifts with pizzazz and perfection. Shiki Wrap is ideal for wrapping small to medium gifts, such as books, bowls, and boxes.
We know that using furoshiki wraps can be daunting, but we promise, it’s super easy. It may look upscale and fancy, but the process to get there is a cake walk. Furoshiki wrapping is simple once you know the basics, which is what we’re here to talk about!
Choosing the Perfect Size Furoshiki Wrap
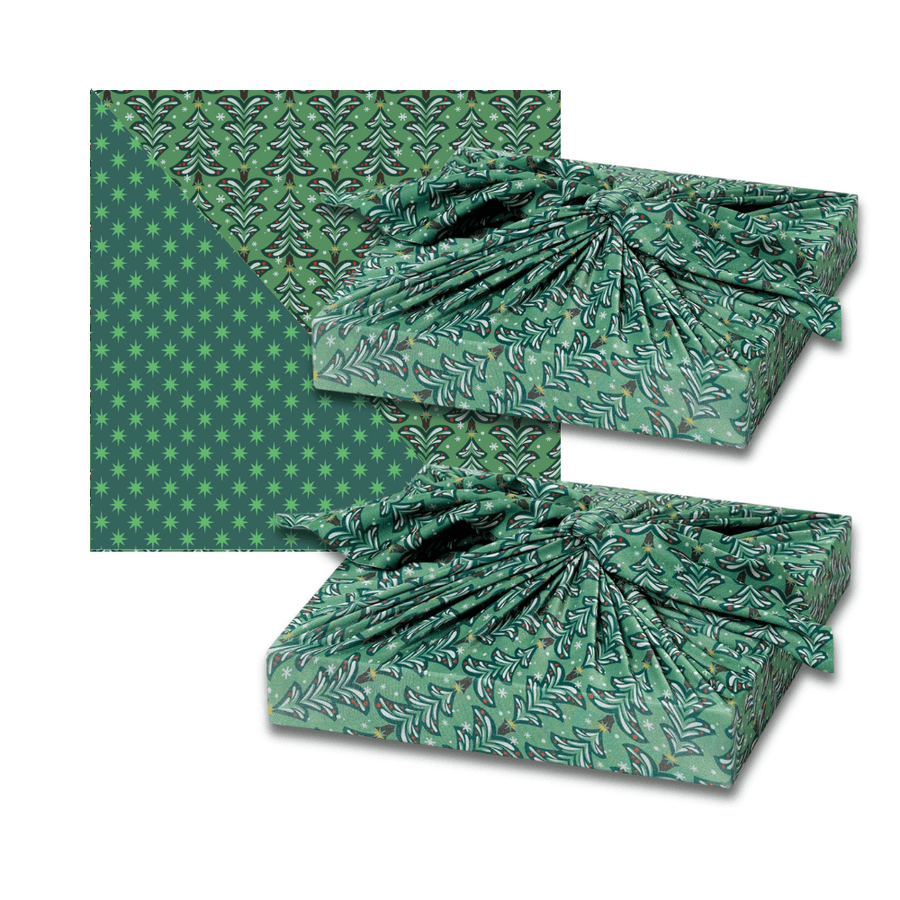
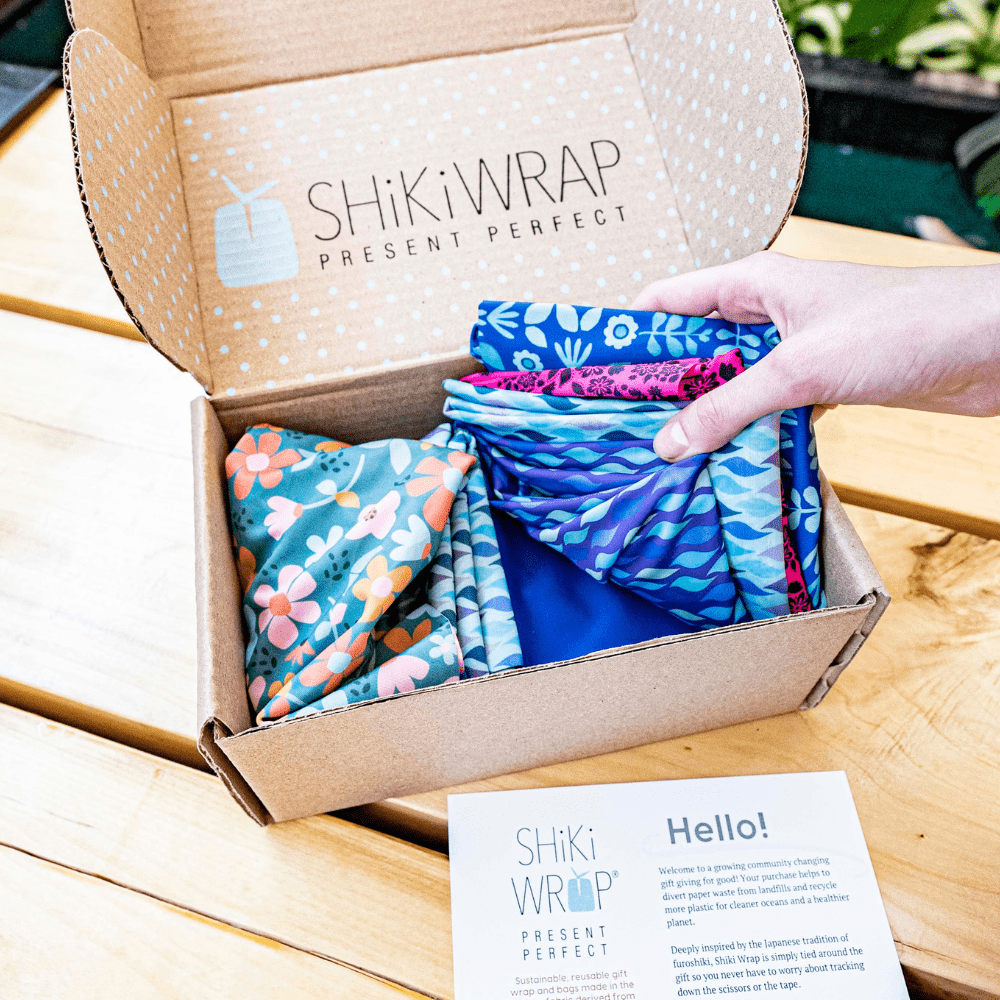
At Shiki Wrap, we offer three wrap sizes to cater to all your gifting needs:
-
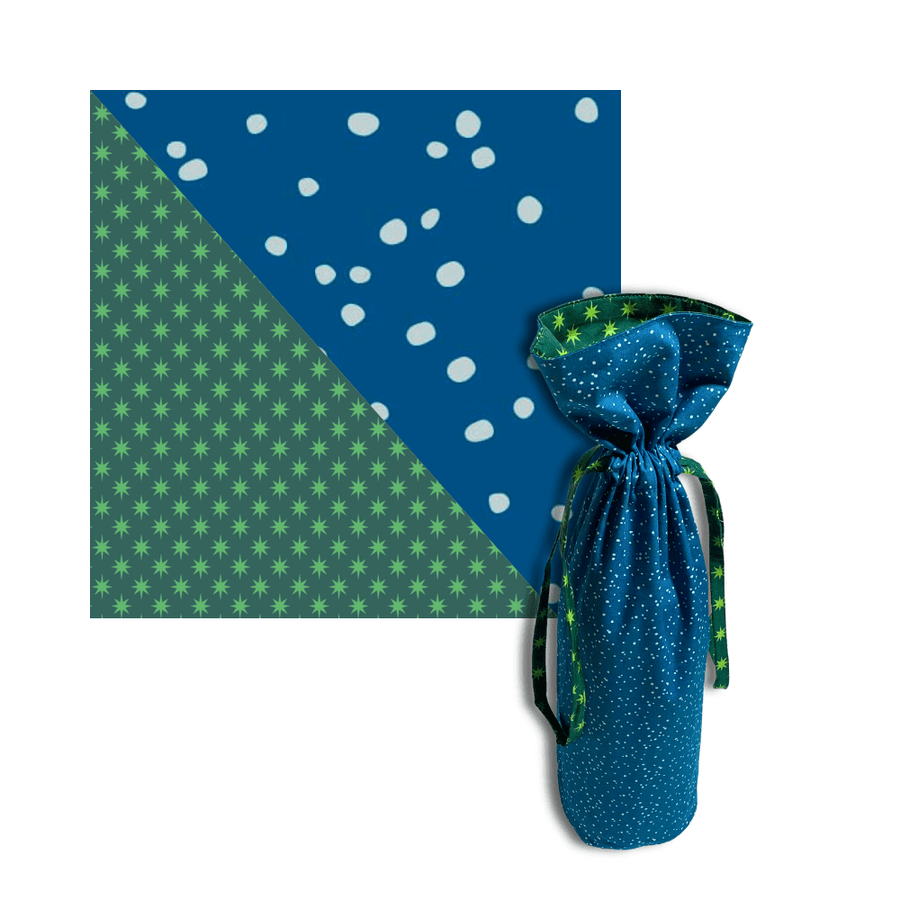
18-inch: Our smallest option, perfect for picture frames, water bottles, bar soaps, and other small items.
-
28-inch: Great for medium-sized gifts, like coffee table books, clothing boxes, and beauty kits.
-
36-inch: Ideal for larger gifts, such as board games, serving platters, and gift baskets.
When wrapping, you should be able to place the object in the center of the fabric and tie all the corners together. If the corners don’t reach one another or don’t cover the gift completely, consider a larger size.
A good rule of thumb is to measure the longest side of your gift and multiply that by two. If your gift’s longest side is 10 inches, get a Shiki Wrap that is at least 20 inches in length and width.
How to Wrap With Furoshiki Fabric

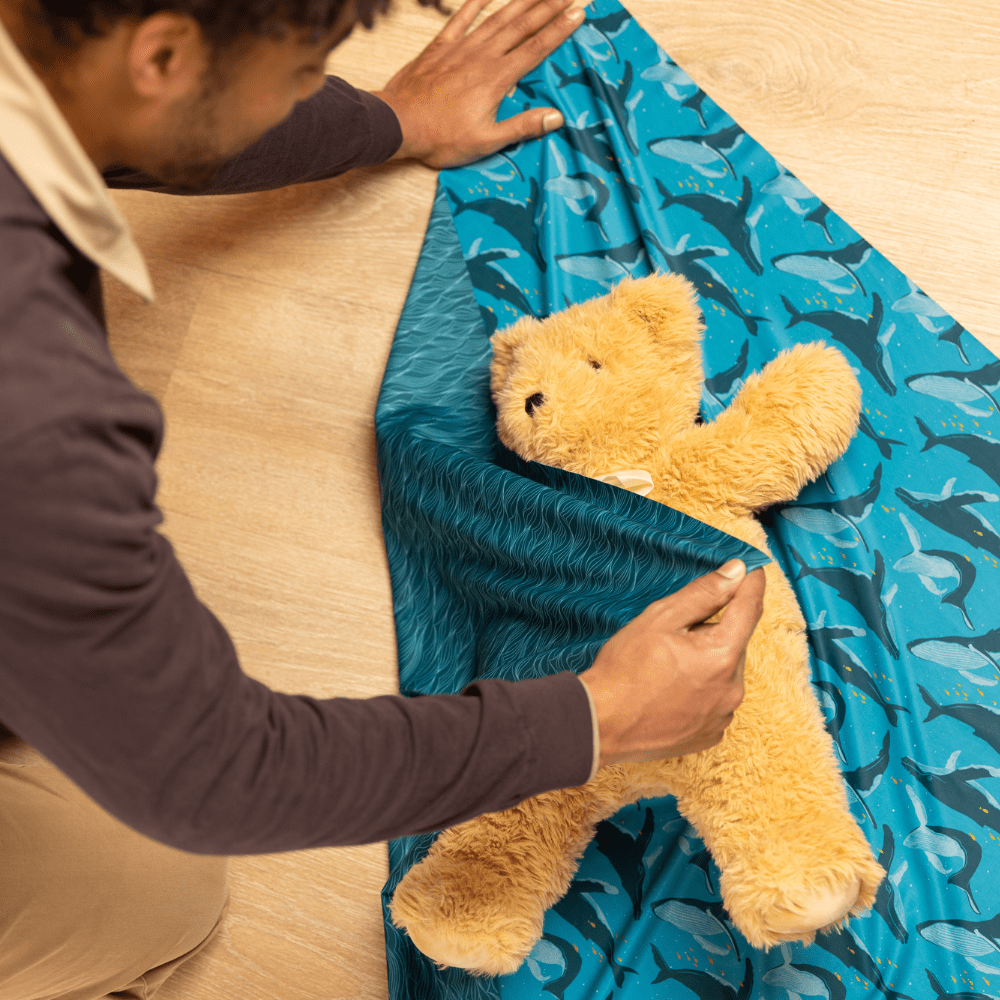
Step 1: Lay Out Your Fabric
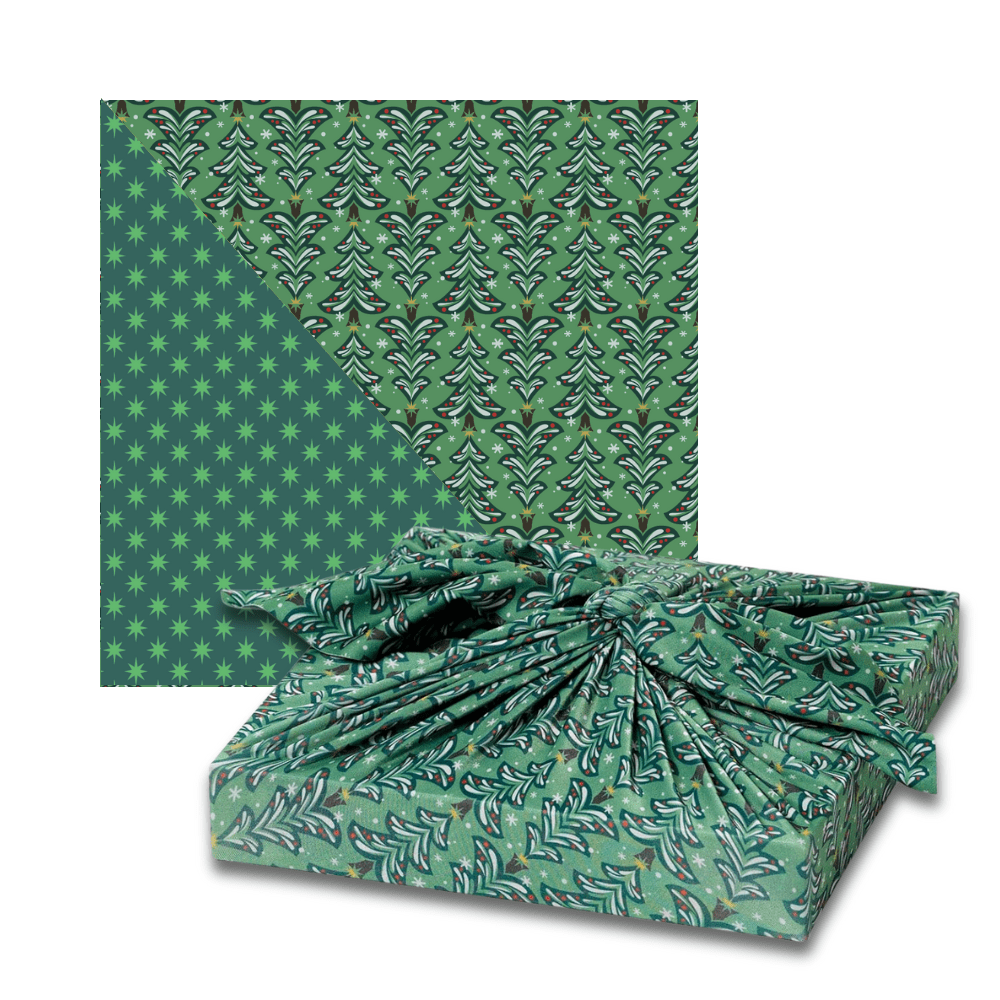
Lay your Shiki Wrap on a flat surface in a diamond shape. This means one corner should point toward you, one points away from you, one points left, and one points right.
Step 2: Center the Gift
Place the object you want to wrap in the center of your diamond. If it’s square or rectangular, place it with the flat edges so they align with the corners. Do not place the gift in a diamond arrangement, like you did with the fabric.
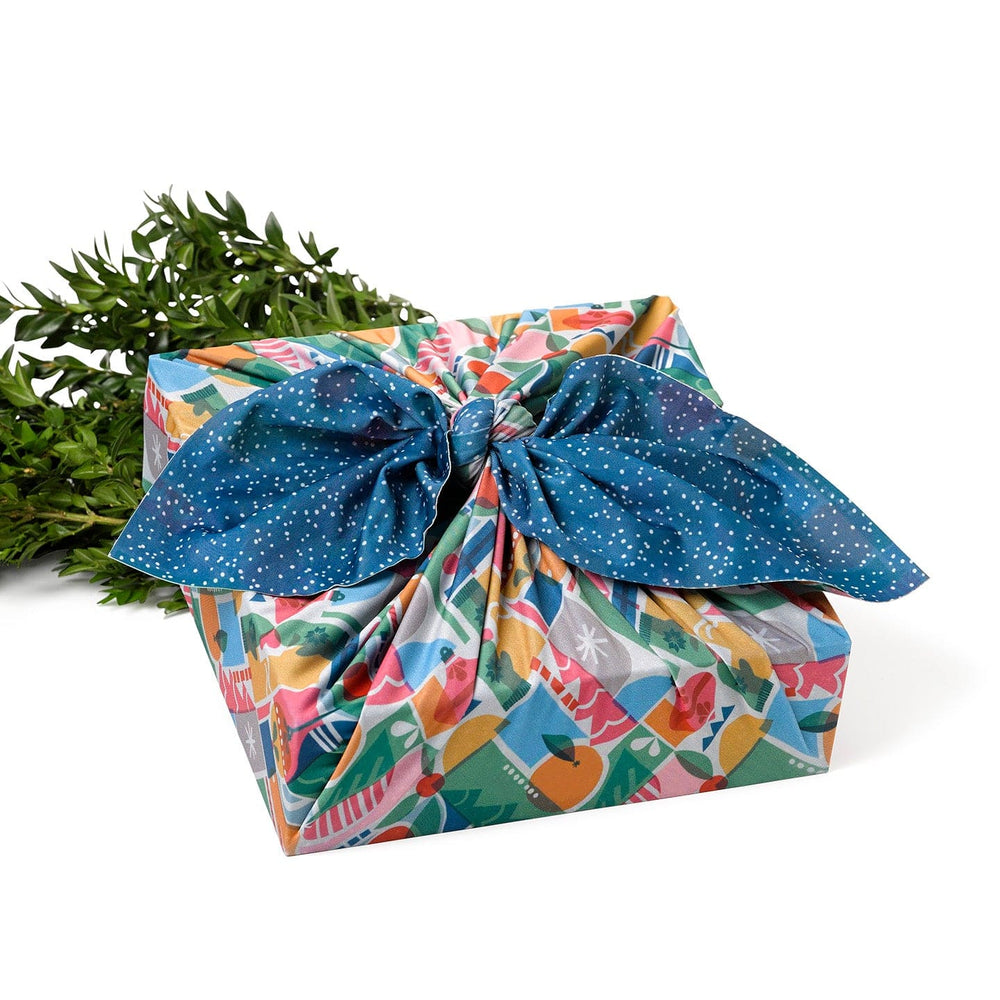
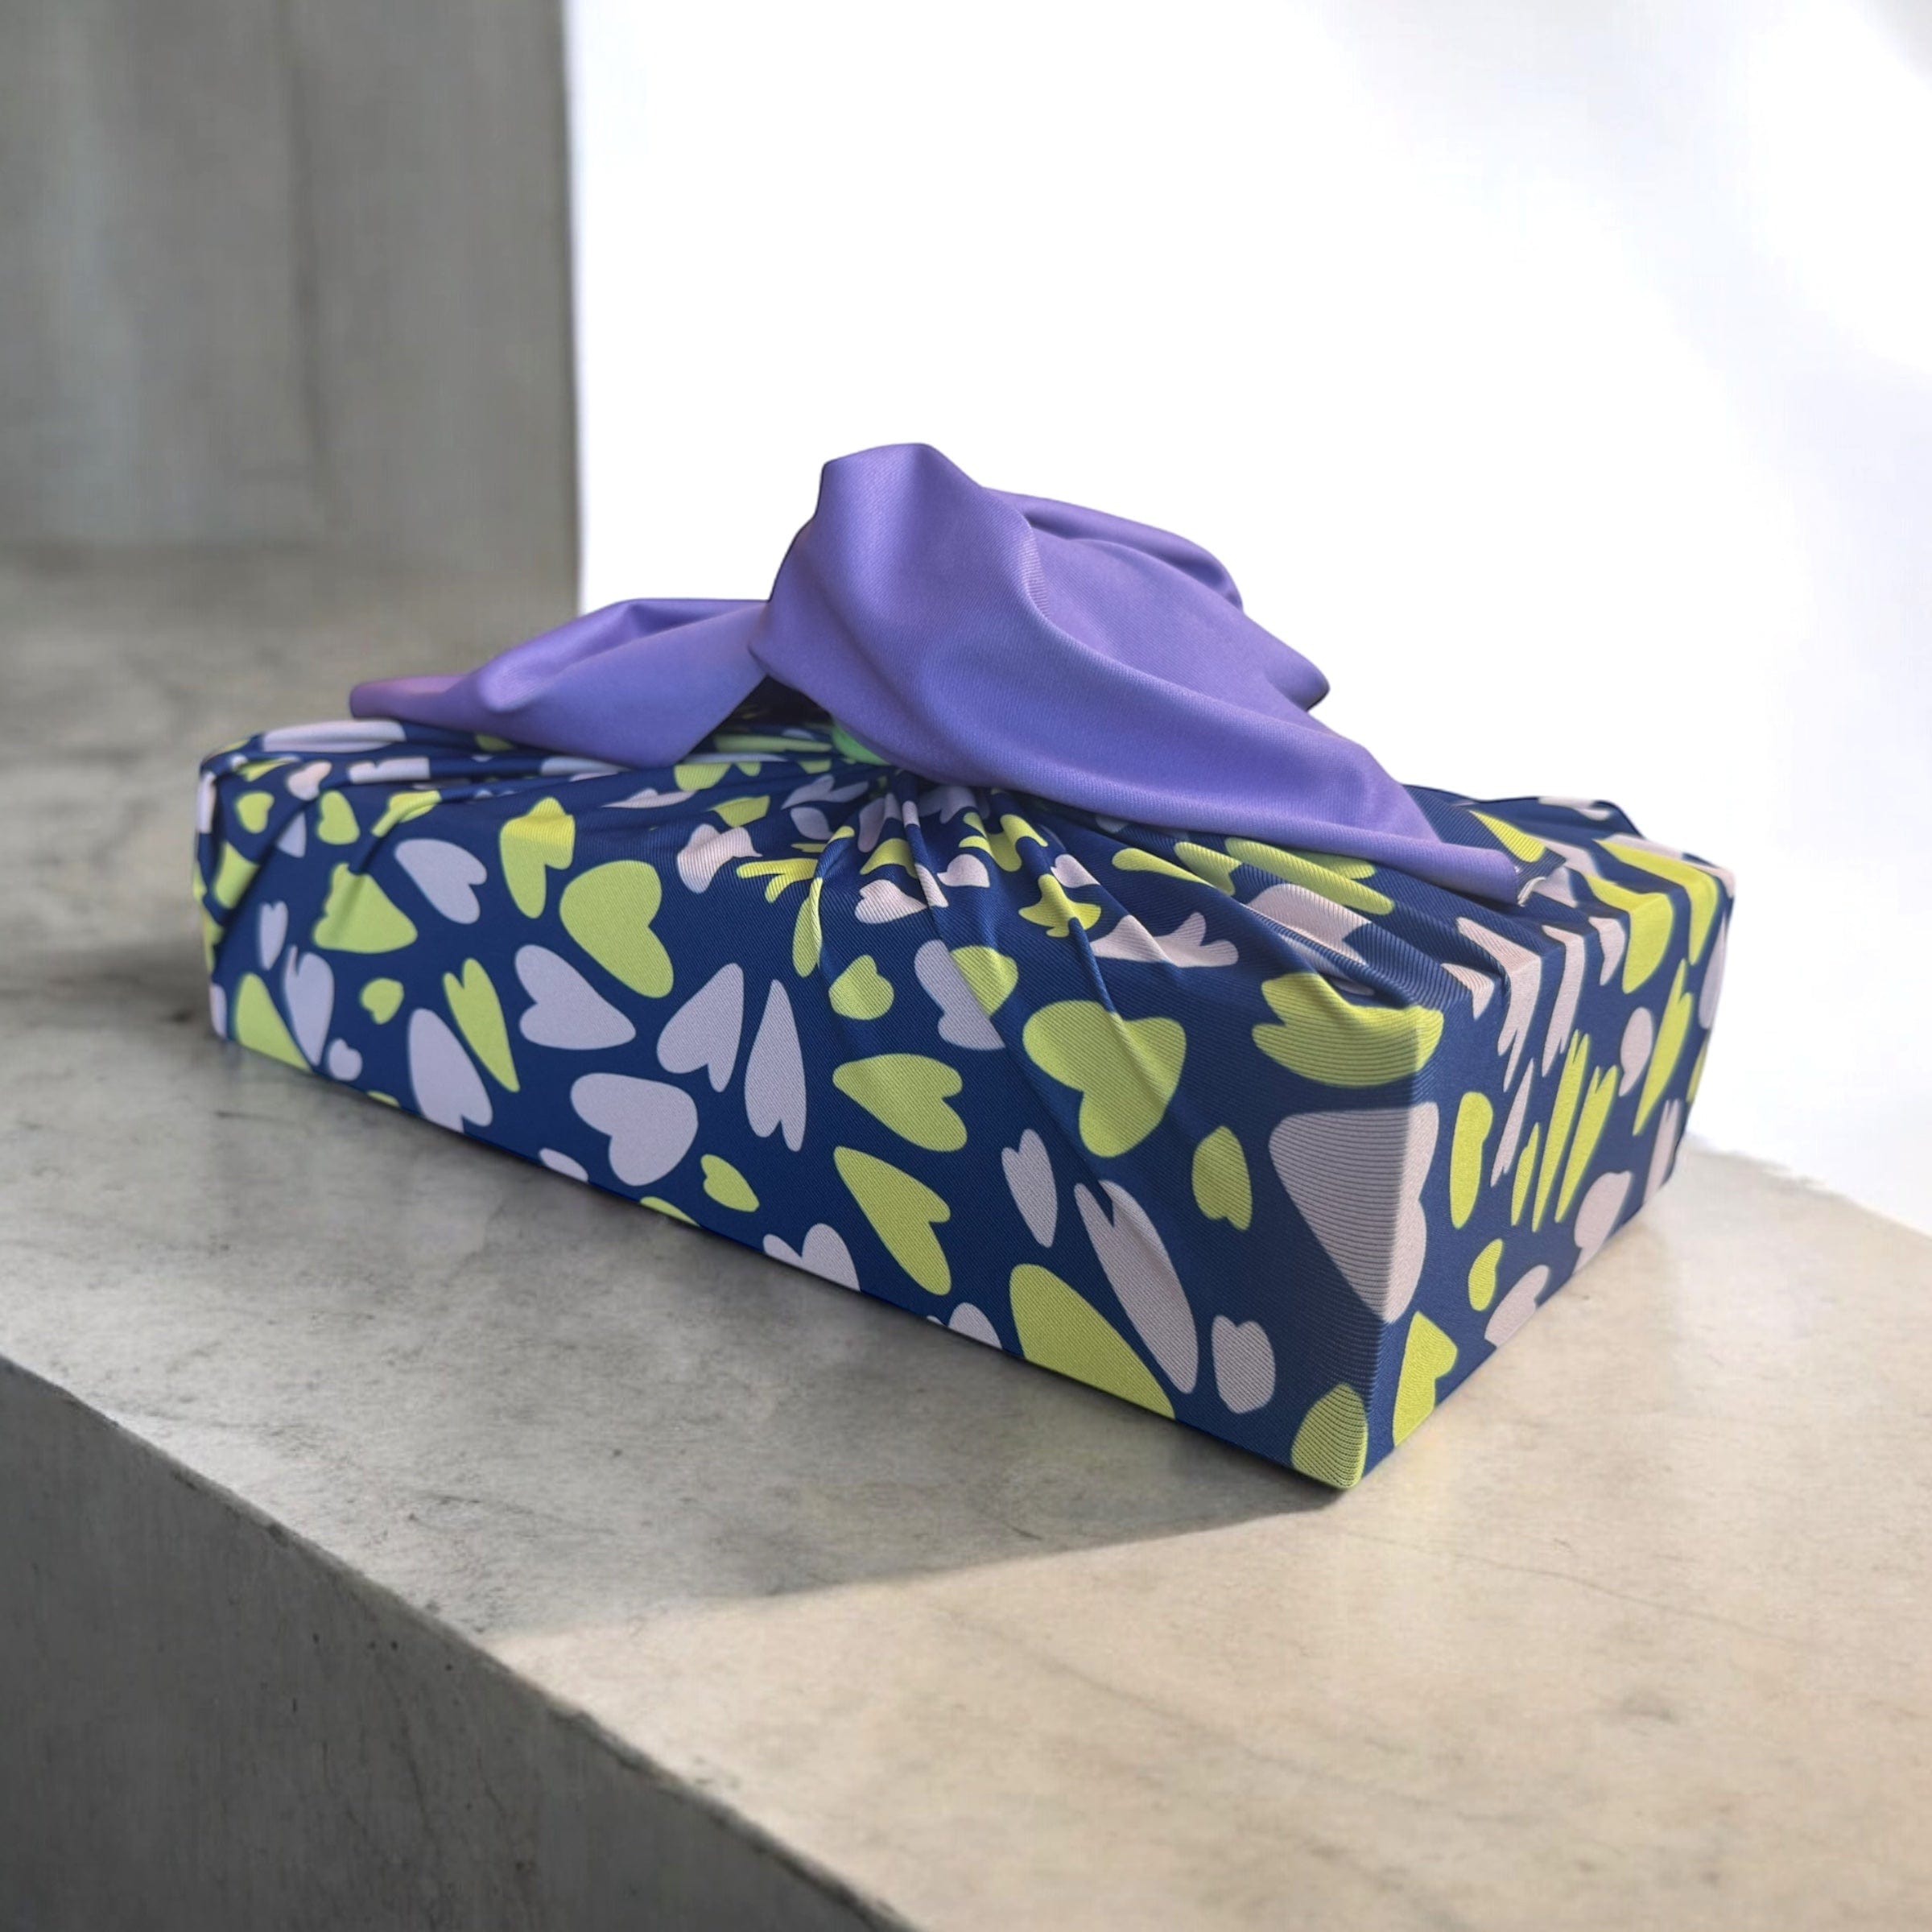
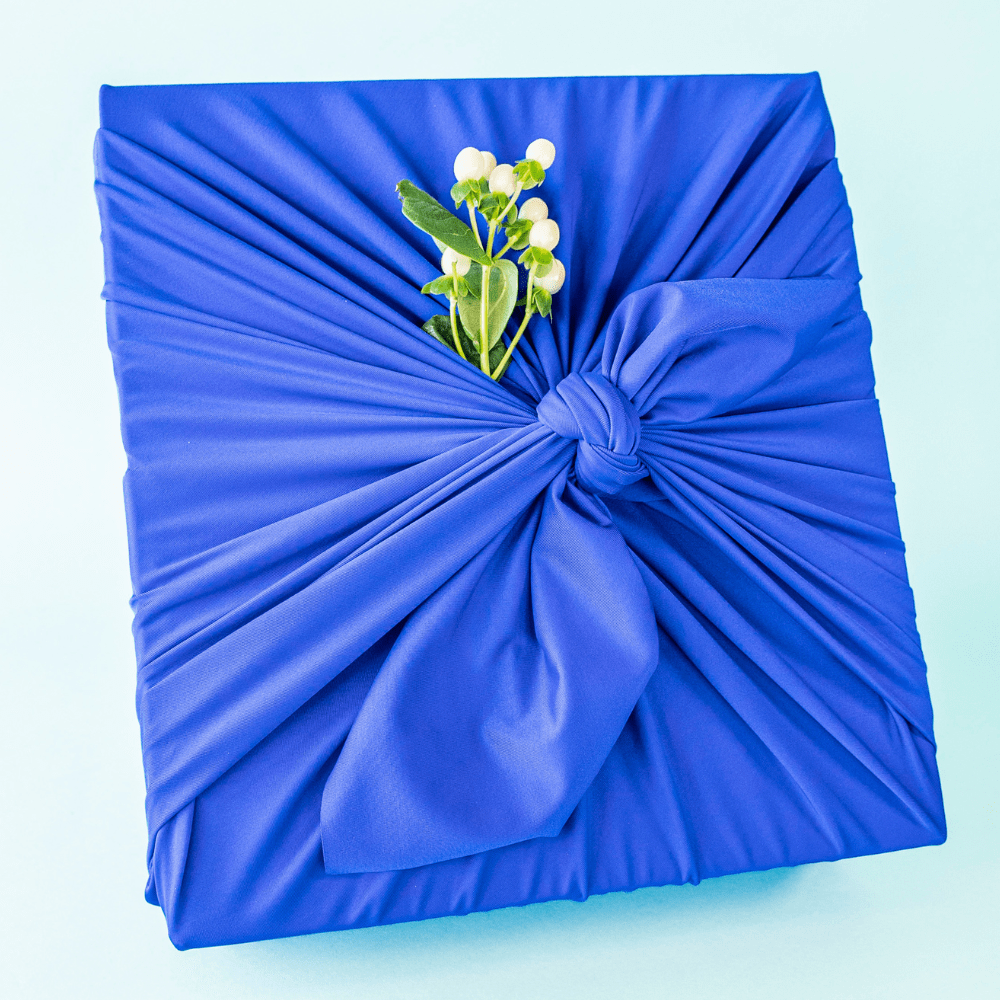
Step 3: Tie the First Knot
Grab the rightside corner and leftside corner of the fabric. Pull them together so they cover the gift. Then, tie them together firmly. We recommend a double knot to secure the gift. There’s no need to overthink these knots — they’re just your basic knot. Shiki Wrap stretches so you can get tight, clean lines around the gift. Don't be afraid to really use the stretch!
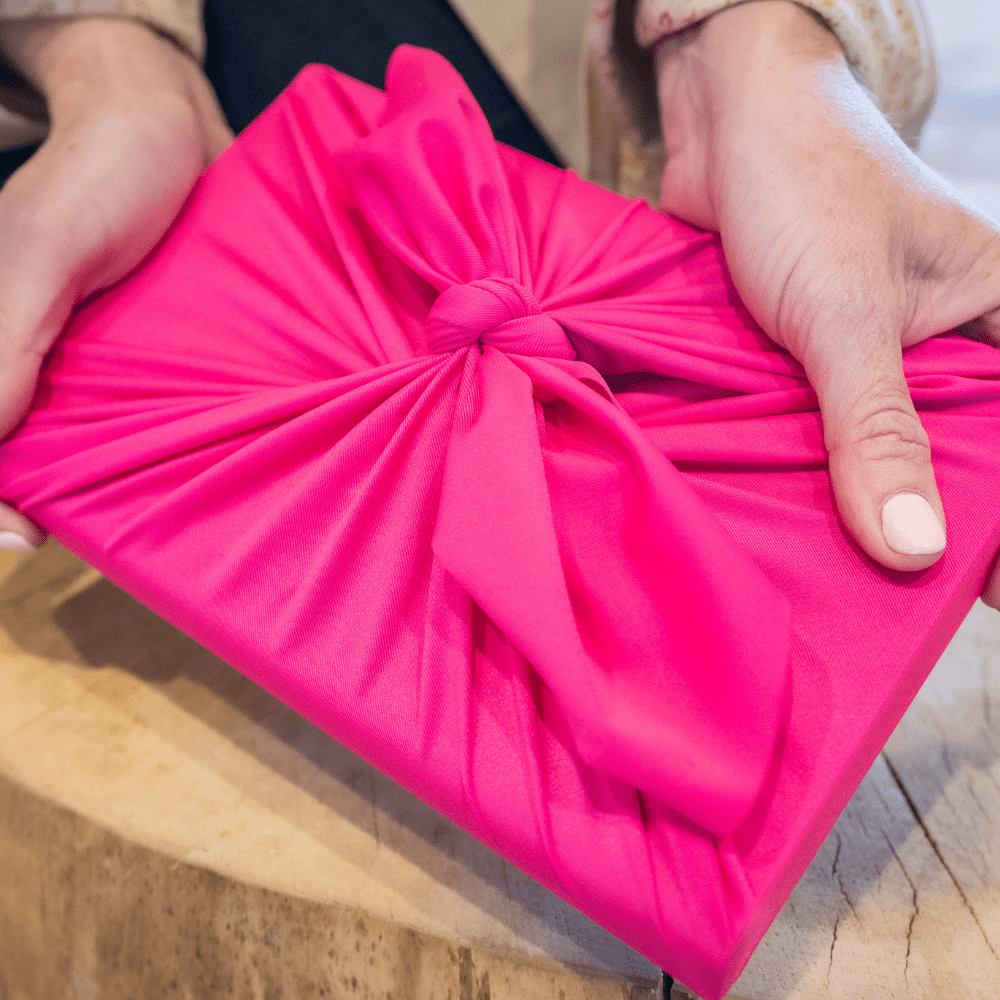
Step 4: Tie the Second Knot
Now, rotate the gift 90º. Now, there should be a free corner on your left and right again. Repeat the step above with these free corners, tying a double knot that covers the object.
Megumi Esselstrom, our furoshiki master, demonstrates how to wrap a medium-sized casserole dish in the video below. It takes less than two minutes!
Knotless Furoshiki Tie
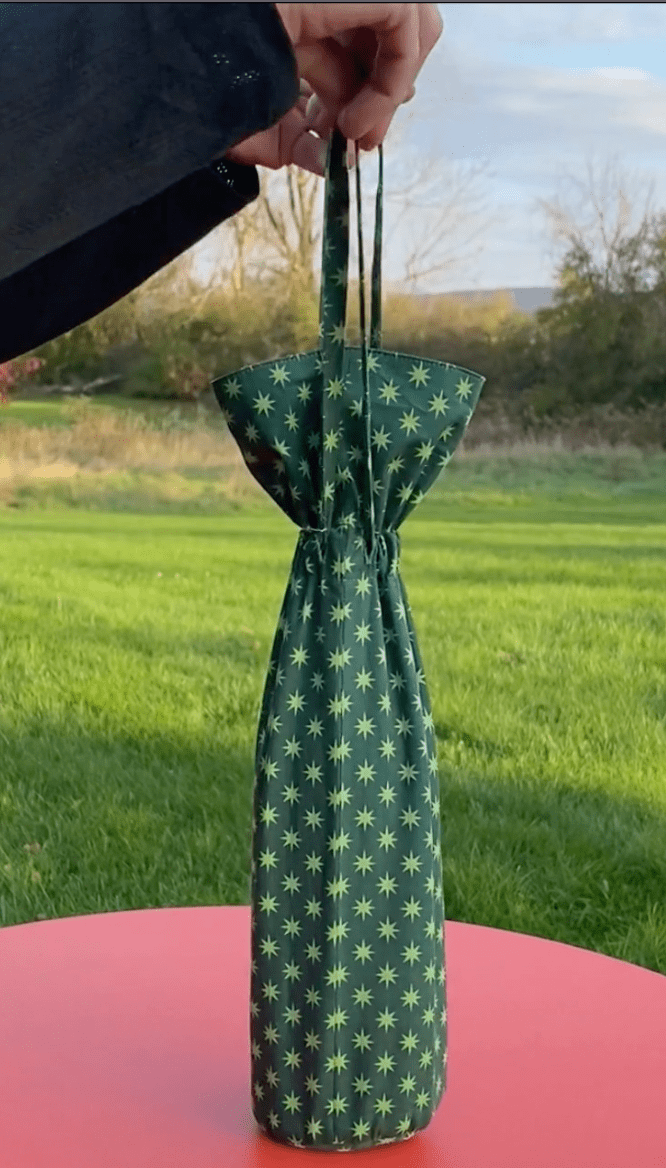
You can even skip tying the knots and simply gather the fabric like a ponytail and secure with a hair tie for a ribbon effect.
 And your gift is ready to make someone’s day! There are funkier and fancier ways to use Shiki Wrap, but these are the simplest styles. If you’ve become a pro at the basics and are ready to explore other furoshiki wrapping techniques, you can find ideas, instructions, and inspiration on our blog.
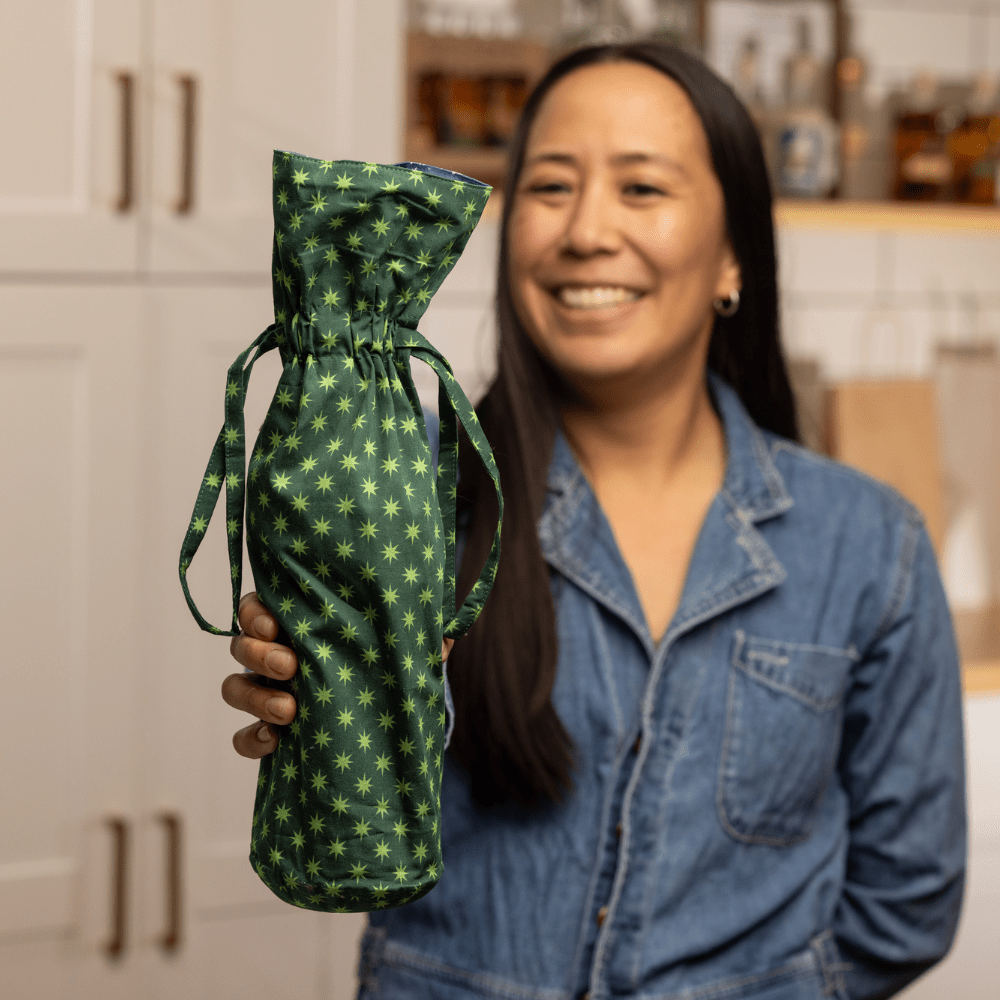
Learn how to wrap a wine bottle, turn your Shiki Wrap into a cute tote, and much more.
Stay up to date on our latest ideas and tips by signing up for our mailing list or follow us on Instagram and Facebook.