
How to Turn Your Shiki Wrap Into a Tote Bag
In between birthdays and holidays, there are still fabulous ways to use your Shiki Wrap. We love to transform it into a fashionable and sturdy DIY tote bag, perfect for farmer’s markets, casual brunches, beach days, and shopping sprees.
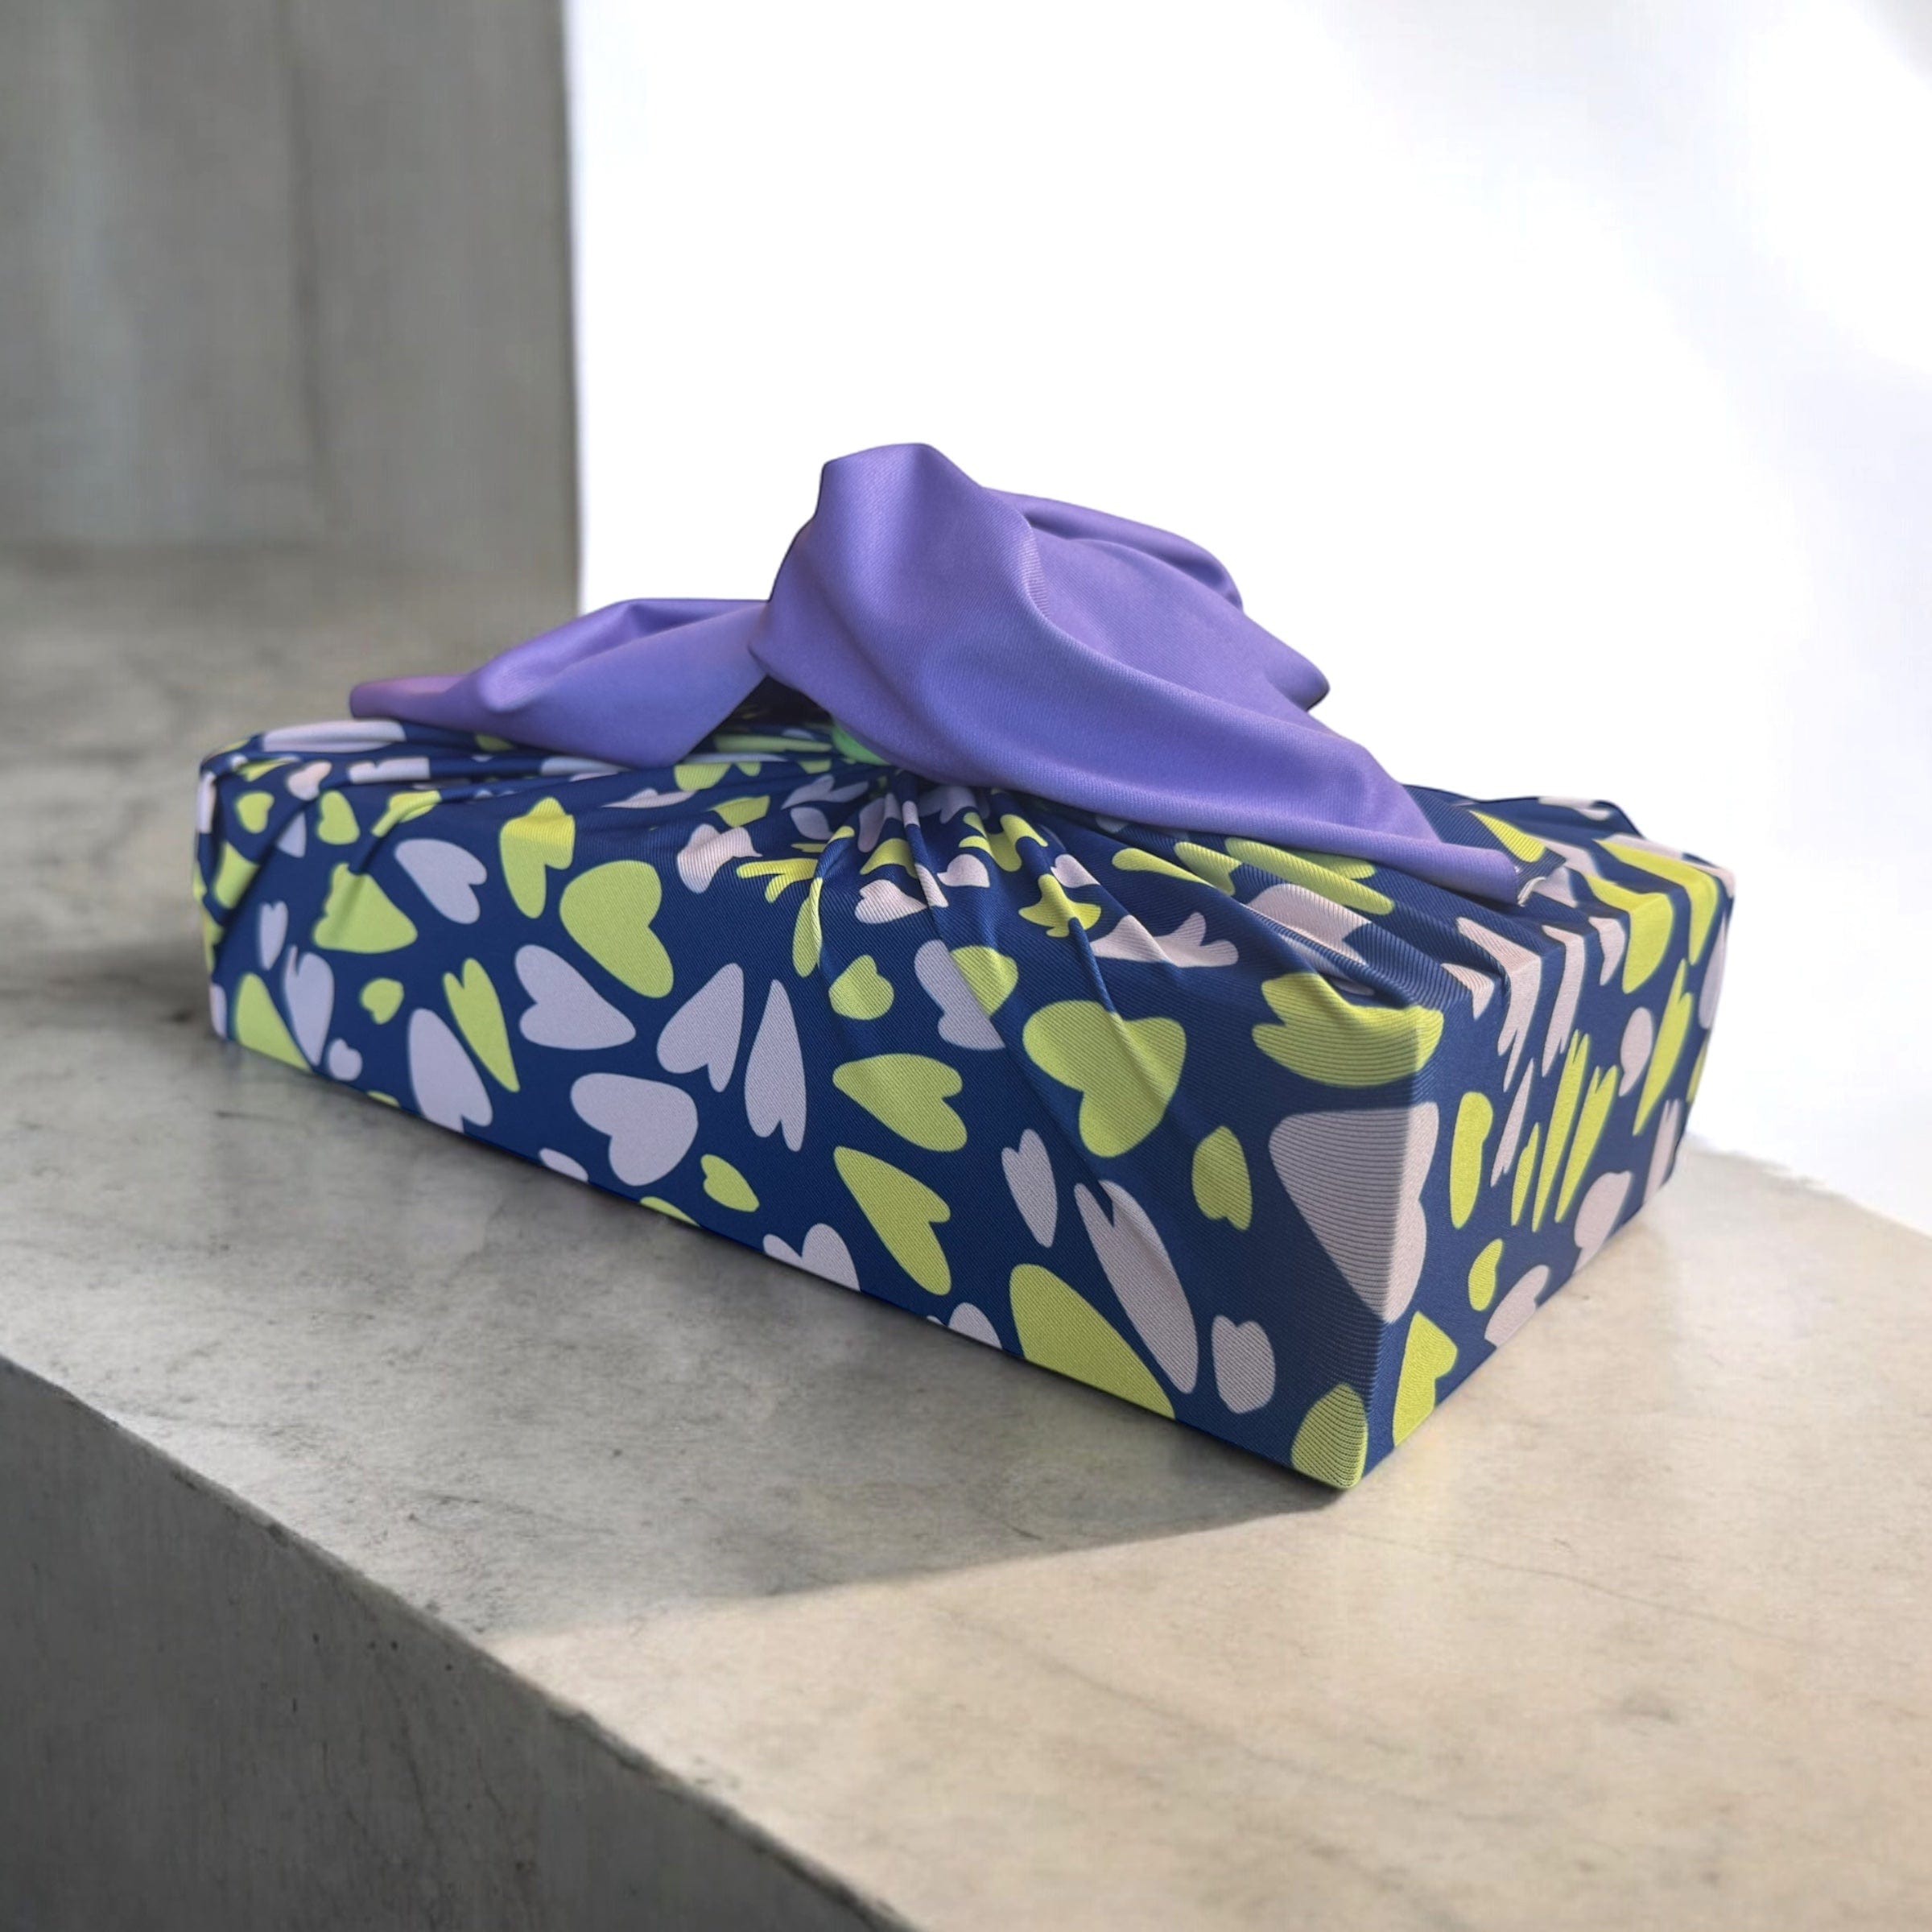
It’s a lovely excuse to show off your favorite Shiki Wrap pattern and get even more use out of this versatile fabric. All it takes is three knots, and you have an impromptu, elegant bag on your shoulder.
3 Steps to Transform Your Shiki Wrap Into a Bag

Step 1: Choose the Perfect Size
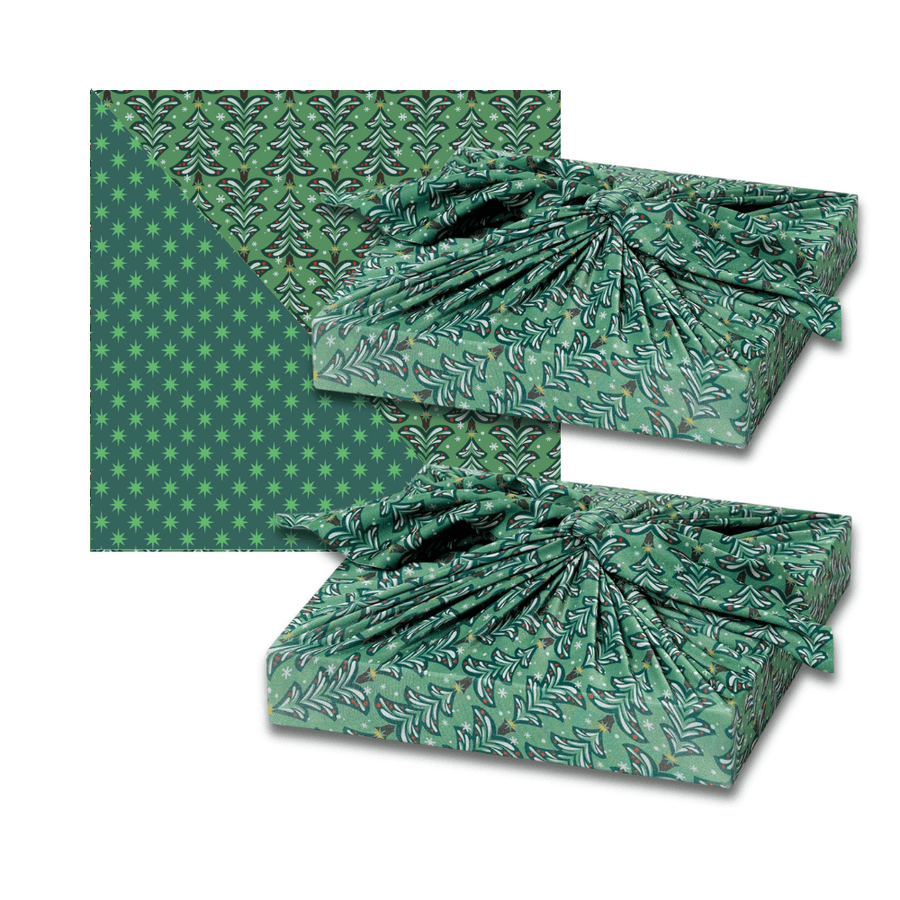
The beautiful thing about Shiki Wrap totes is that you get to choose the size. All Shiki Wrap sizes, including the small 18-inch, large 28-inch, and extra large 36-inch, can be effortlessly transformed into a tote.
If you’re just popping out to have lunch or go to the dentist and need your essentials with you, go with the small Shiki Wrap. It’s just the right size to carry your phone, keys, wallet, and maybe a book for you to read while you wait for an appointment.
The large size is ideal for outings that require some gear. Use it to carry a small blanket and snacks for a park picnic. Or take it to your yoga class to store an extra pair of clothes and a big water bottle.
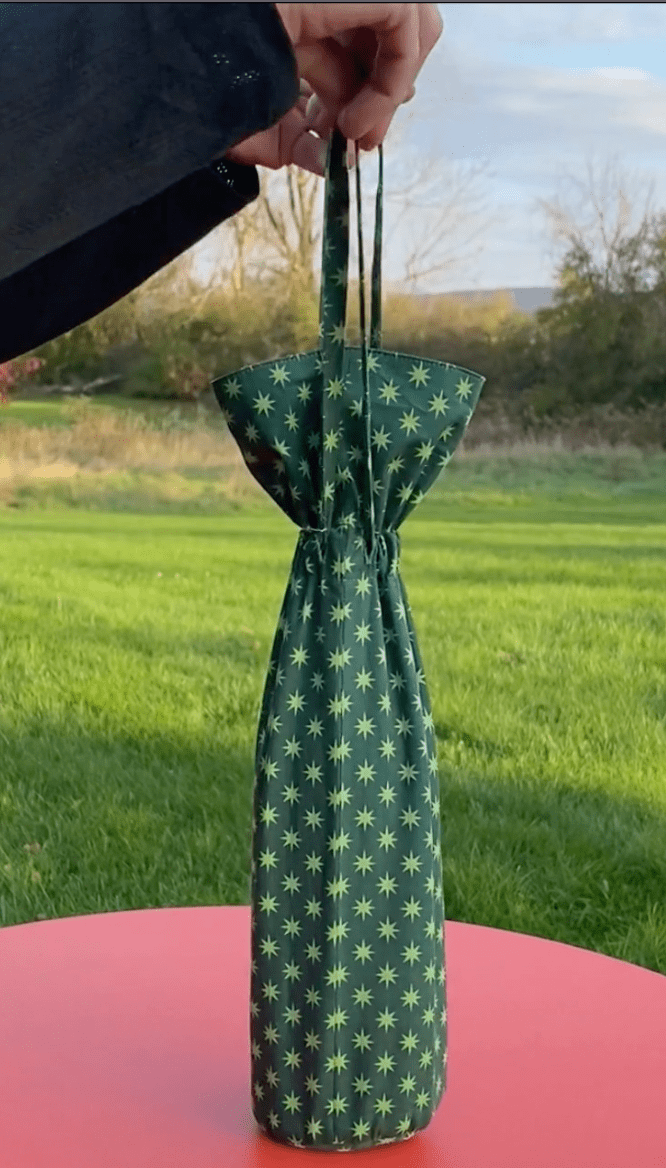
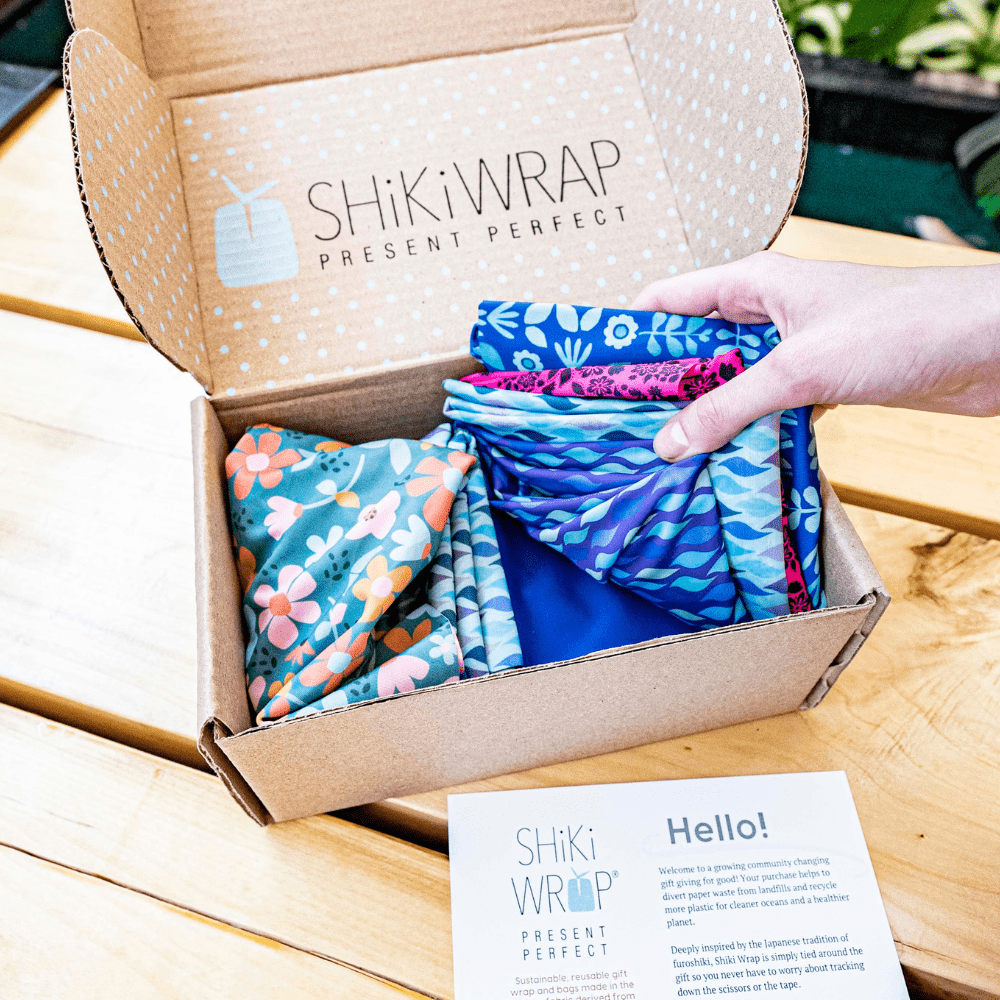
We never go shopping without an extra large Shiki Wrap bag, pictured above. This size is the best choice if you have a lot to carry — or even if you don’t know what you’ll end up carrying. It’s a must-bring for every Christmas shopping day or mall trip to refresh your wardrobe. In 2024, it was featured at the French Riviera Film Festival at Cannes as the VIP gift bag!
Step 2: Tie the Base Together
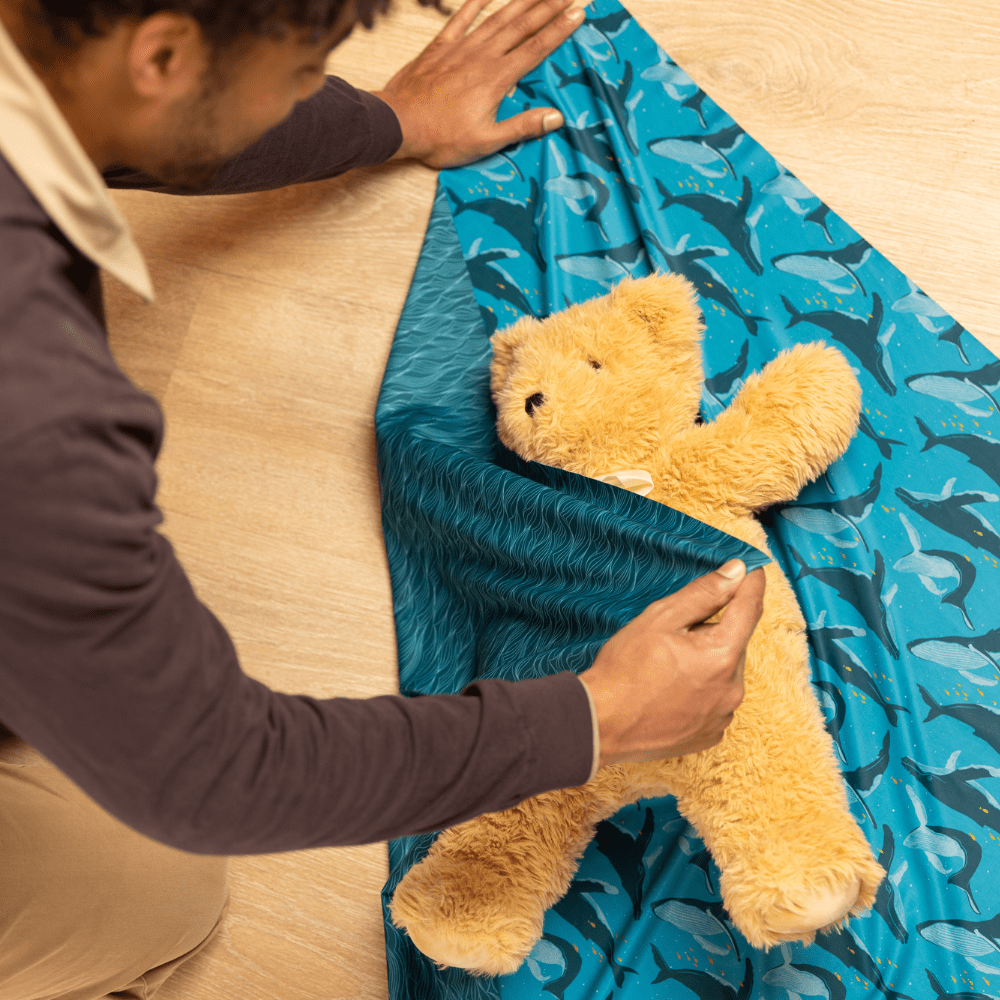
Create your tote base with two simple knots. In the Japanese tradition of furoshiki, the magic happens by laying the fabric flat in a diamond shape, with a corner of the square fabric directly in front of you. If you have specific items to carry, you can place them in the center of the Shiki Wrap. This helps you space the knots out perfectly.
Grab the corner on your left side and tie it in a firm knot. Do the same with the corner to your right. This forms the foundation of the bag that will hold all your goodies. We recommend leaving a few inches of fabric above the knot to ensure it’s secure.
Step 3: Tie the Handle
Lastly, grab the two remaining corners and tie them into a secure knot. And voila! Your chic Shiki Wrap bag is ready for anything. It’s that easy.
You can also watch a furoshiki expert create a tote bag in the video below. Megumi easily ties this DIY bag together in seconds.
It’s in the Bag
Carry your favorite Shiki Wrap wherever you go so you can create a stylish tote bag in an instant. With Shiki Wrap, you can skip the plastic bags, paper bags, and bulky totes altogether.
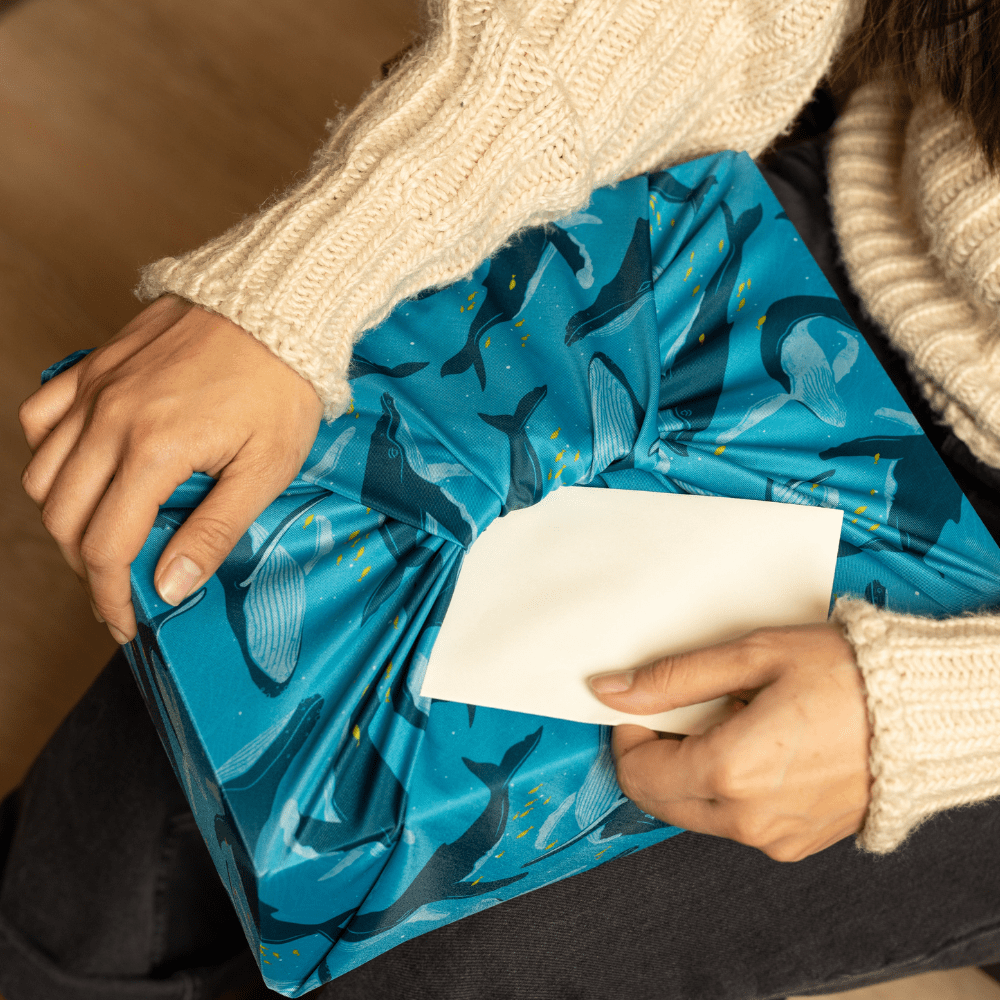
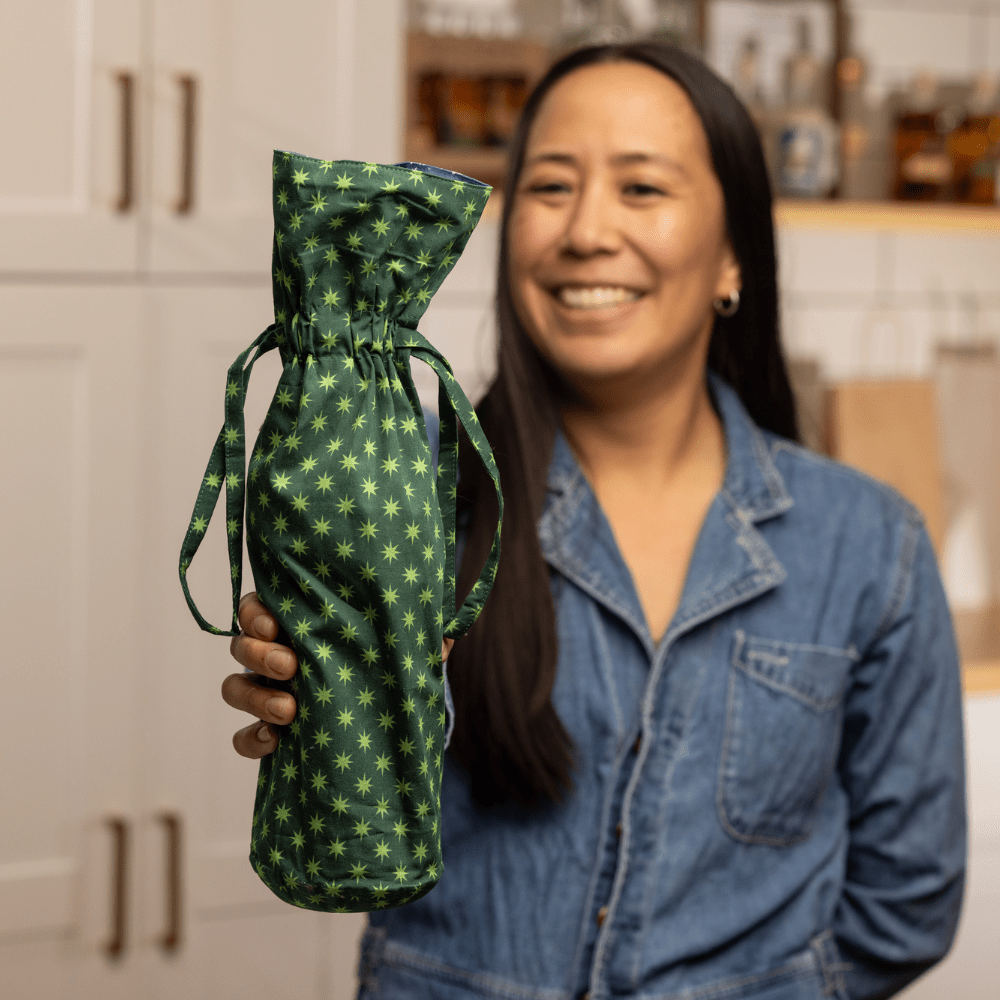
It’ll be there for you when you forget your reusable grocery bags, make a spontaneous purchase, or get a surprise gift. Use it to carry your dinner leftovers, a bottle of wine, the treats your dog is about to crazy for, and just about anything else.
But Shiki Wrap’s versatility goes beyond being a bag. Discover the other ways to use your Shiki Wrap when it’s not hugging a gift, from head wraps to beach cover ups. And explore our stunning collection of patterns, so you can have a tote bag that suits your style.